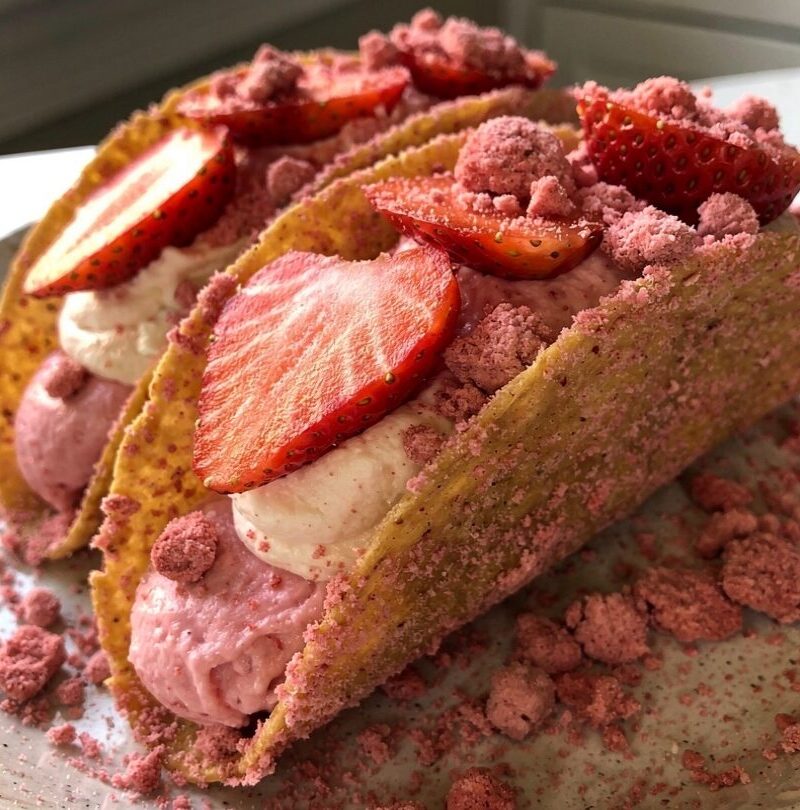
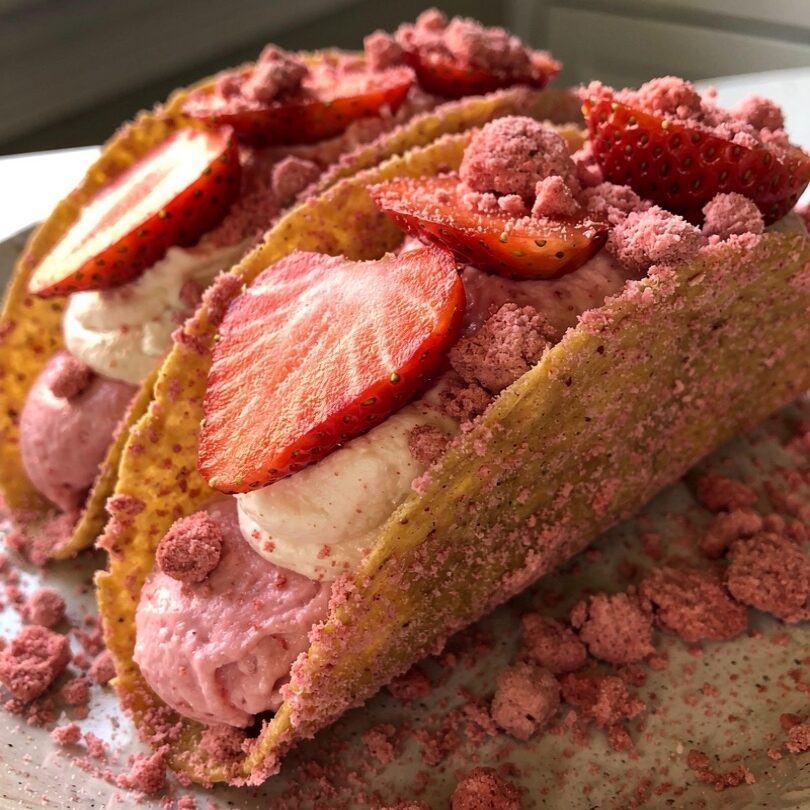
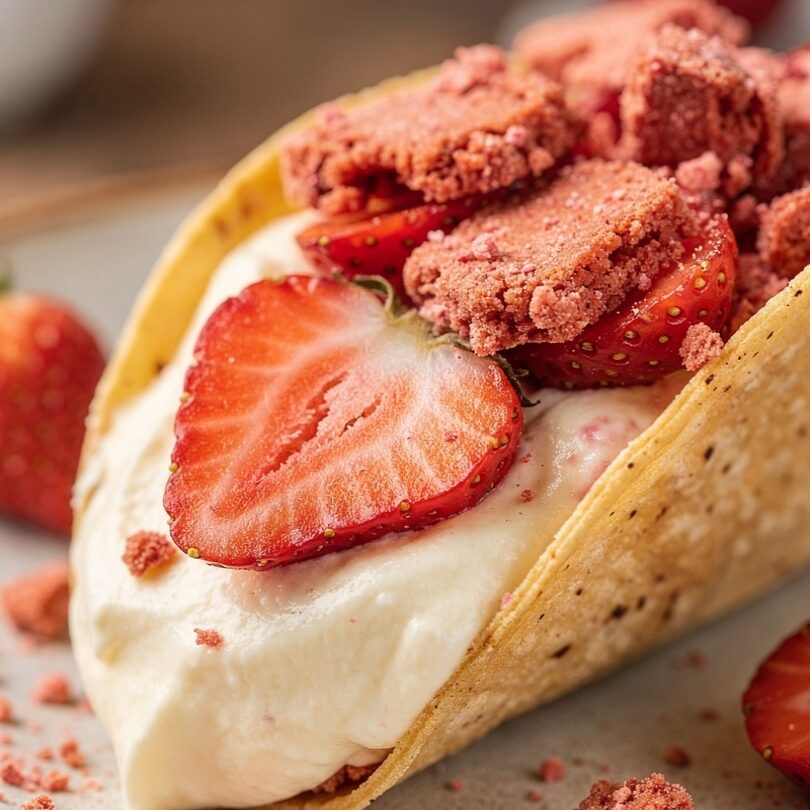
These Strawberry Crunch Cheesecake Tacos are a playful, no-bake dessert that combines creamy cheesecake filling, crunchy strawberry cookie coating, and a fresh fruity topping—all served in a taco-shaped shell. They’re fun, colorful, and perfect for parties, cookouts, or anytime you want a creative twist on classic strawberry desserts.
If you love eye-catching dessert ideas that taste as good as they look, this recipe will instantly become a favorite. It delivers everything you want in a summer treat: creamy, crunchy, sweet, and refreshing all in one bite.
Inspired by popular ice cream bars and strawberry shortcake flavors, these tacos are one of the most exciting summer desserts you can make without turning on the oven for long.
Why You’ll Love This Recipe
There are many reasons these Strawberry Crunch Cheesecake Tacos are a must-try:
- No-bake or minimal bake dessert
- Creamy cheesecake filling
- Crunchy strawberry coating
- Fun taco-shaped presentation
- Perfect for parties and gatherings
- Bright, colorful, and Instagram-worthy
- Easy to customize
- Kid-friendly and crowd-pleasing
- Ideal for warm weather
If you enjoy creative strawberry crunch desserts, this recipe is both fun and delicious.
Ingredients
Taco Shells
- 8 small flour tortillas
- 2 tbsp melted butter
- 2 tbsp sugar
- 1 tsp cinnamon (optional for flavor)
Cheesecake Filling
- 8 oz cream cheese, softened
- 1 cup heavy whipping cream
- ½ cup powdered sugar
- 1 tsp vanilla extract
Strawberry Crunch Coating
- 1 cup crushed vanilla sandwich cookies
- ½ cup freeze-dried strawberries, crushed
- 3 tbsp melted butter
Strawberry Topping
- 1 ½ cups fresh strawberries, diced
- 2 tbsp sugar
- 1 tsp lemon juice
Optional Garnish
- Whipped cream
- White chocolate drizzle
- Extra strawberry crunch crumbs
How to Make It
These Strawberry Crunch Cheesecake Tacos are made by shaping tortillas into taco shells, baking them until crisp, filling them with creamy cheesecake mixture, and coating them with a sweet strawberry crunch topping. The result is a dessert that combines texture, flavor, and fun presentation.
They are perfect for anyone looking for creative dessert ideas that stand out at gatherings.
Step-by-Step Directions
Step 1: Prepare Taco Shells
Preheat oven to 375°F (190°C).
Lightly brush tortillas with melted butter.
Sprinkle with sugar (and cinnamon if desired).
Hang tortillas over oven rack bars or taco molds to form shell shape.
Bake for 7–10 minutes until crisp and golden.
Let cool completely.
Step 2: Make Cheesecake Filling
In a bowl, beat cream cheese until smooth.
Add powdered sugar and vanilla extract.
In a separate bowl, whip heavy cream until soft peaks form.
Fold whipped cream into cream cheese mixture until fluffy and smooth.
Step 3: Prepare Strawberry Crunch
Mix crushed cookies, freeze-dried strawberries, and melted butter in a bowl.
Stir until crumbly and well combined.
Step 4: Prepare Strawberry Topping
Mix diced strawberries with sugar and lemon juice.
Let sit for 10–15 minutes to release juices.
Step 5: Assemble Tacos
Fill cooled taco shells with cheesecake filling.
Top with strawberry mixture.
Sprinkle generously with strawberry crunch coating.
Step 6: Garnish and Serve
Add whipped cream and drizzle white chocolate if desired.
Serve immediately for best texture.
Serving Suggestions
These Strawberry Crunch Cheesecake Tacos pair perfectly with:
- Lemonade or iced tea
- Vanilla ice cream
- Fresh fruit platters
- Chocolate milk or smoothies
They are ideal for birthdays, picnics, BBQs, and summer parties.
Helpful Tips
Use Firm Taco Shells
Make sure tortillas are fully crisp before filling.
Chill Filling
Cold cheesecake filling holds its shape better.
Serve Immediately
Tacos are best when shells stay crunchy.
Don’t Overfill
Too much filling can break the shell.
Use Freeze-Dried Strawberries
They give strong flavor without moisture.
Variations
Chocolate Strawberry Crunch Tacos
Add cocoa powder to the shell for a chocolate version.
No-Bake Version
Skip baking tortillas and use pre-made dessert shells.
Extra Creamy Version
Add mascarpone cheese to the filling.
Mixed Berry Tacos
Use blueberries and raspberries for variety.
FAQs
Can I make these ahead of time?
You can prepare components ahead, but assemble just before serving.
How long do they last?
Best eaten fresh, but shells can be stored separately for 2 days.
Can I use store-bought shells?
Yes, but homemade shells taste fresher and crispier.
Are these good for summer desserts?
Yes, they are perfect refreshing summer desserts.
Can kids help make them?
Absolutely—this is a fun family-friendly recipe.
Final Thoughts
These Strawberry Crunch Cheesecake Tacos are fun, colorful, and bursting with flavor. With crispy shells, creamy cheesecake filling, and sweet strawberry crunch topping, they turn a simple dessert into something unforgettable.
Whether you’re searching for creative strawberry desserts, easy strawberry crunch desserts, or unique dessert ideas for parties, this recipe delivers every time. Fun, fruity, and absolutely delicious—these tacos are a summer dessert everyone will love.
Strawberry Crunch Cheesecake Tacos
Ingredients
Method
- Preheat oven to 375°F (190°C).
- Brush tortillas with melted butter and sprinkle with sugar (and cinnamon if desired).
- Shape tortillas into taco shells using oven rack bars or taco molds.
- Bake for 7–10 minutes until golden and crisp. Cool completely.
- In a bowl, beat cream cheese until smooth. Add powdered sugar and vanilla.
- Whip heavy cream to soft peaks and fold into cream cheese mixture until fluffy.
- Mix crushed cookies, freeze-dried strawberries, and melted butter to make crunch topping.
- Combine diced strawberries with sugar and lemon juice; let sit for 10 minutes.
- Fill cooled taco shells with cheesecake filling.
- Top with strawberry mixture and sprinkle with crunch topping.
- Garnish with whipped cream or white chocolate drizzle if desired. Serve immediately.
Notes
- Assemble just before serving to keep shells crisp.
- Use freeze-dried strawberries for best crunch texture.
- Do not overfill tacos to prevent breaking.
- Cheesecake filling can be made up to 24 hours ahead.
- Store components separately for best results.
- Best enjoyed fresh as a summer party dessert.